Using Paramiko to Tune Network Performance
- Aug. 16, 2021 by
- Mason Hicks
Many networking experiments necessitate transferring data across wide areas, making networking configuration essential. Chameleon allows users to take advantage of GENI-style stitching and experiment with the network flow between two stitched nodes. ExoGeni network stitching allows for users to easily perform experiments on the layer 2 and layer 3 networks of computer systems. There are TCP (Transmission Control Protocol) buffers on each side of a transfer connection that hold data before it is transferred. When this buffer reaches its capacity, the receiver node will alert the sender node that it cannot send any more data until this cache has been cleared. Once the cache is filled, the receiver node will refuse any more data until it is emptied. Through proper host tuning, which is modifying our buffer size and our congestion window, we can see massive performance increases of up to 20 times depending on the automatic tuning of your experiment’s operating system.
Although today’s high-bandwidth network cards provide 10, 40, or even 100 Gbps of bandwidth, this performance affects the TCP algorithms and buffer size. Often, the default TCP configuration supports performance for a set of typical applications. Many scientific workloads involve very large data transfers across high-latency networks that do not conform to standard TCP configuration assumptions. These situations require custom TCP tuning to achieve maximum network performance.
We have shared a new Jupyter notebook that shows an easier way to perform host tuning on nodes using Python’s paramiko package, which allows for a user to remotely access their node and perform command-line operations using the Python programming language. This integrates well with Chameleon’s own python-chi library, which can allocate hardware resources quickly. By taking advantage of paramiko, we can create a more streamlined approach to tuning nodes on any Chameleon site by connecting to and tuning the hosts with pre-written scripts that manually tune the TCP buffers from simple Jupyter notebook cells, and then test them using the iPerf3 performance measurement tool.
What’s in the notebook?
The tutorial notebook follows a structure of:
-
Configure the environment
-
Create a network and server at the UChicago site
-
Create a network and server at the TACC site
-
Start the servers
-
Stitch the circuit with ExoGENI
-
Clean up resources
Each of these sections contains the code necessary to run the commands and a brief explanation. Some sections contain links to other tutorials so you can see more detail about necessary steps, for example, creating a server or adding a subnet - and if you see a To Do note, that just means there are plans to create another tutorial for that step! You can check back to see if it’s been added in the future.
How do I access the notebook?
The new notebook can be found on Trovi, Chameleon’s sharing portal, under Chameleon User Guide: Networking.

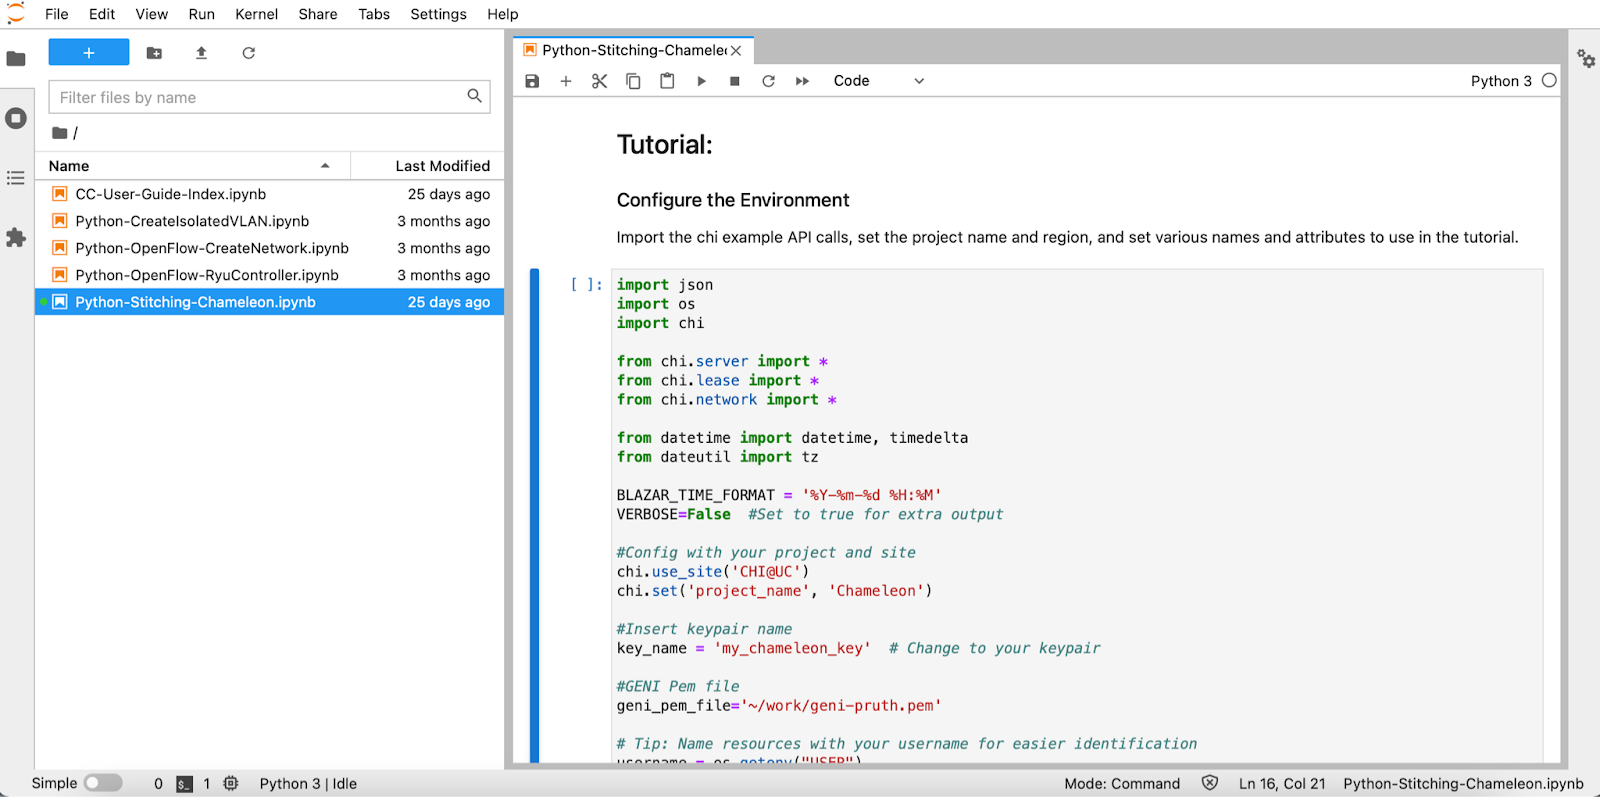
After selecting ‘Launch on Chameleon’, Jupyter will launch and you’ll be able to access any of the networking tutorials. The networking tutorial described in this blog is the Python-Stitching-Chameleon notebook. After selecting this notebook, you’ll be able to run all cells and try it out for yourself!
We invite anyone interested in learning about these tips and tricks to look at the notebook. If you have questions about deploying an experiment using host tuning, please contact us (contact@chameleoncloud.org) so that we can help you get started with this capability.
No comments